
The true cost of a mid-January heating failure extends far beyond uncomfortable indoor temperatures and heavy winter coats in your living room. When a home’s thermal defenses fail during a deep freeze, dropping indoor temperatures quickly lead to frozen supply lines, catastrophic pipe bursts, weekend emergency surcharges, and thousands of dollars in preventable structural damage. Unfortunately, most homeowners wait until the first hard freeze to test their systems. By then, minor off-season wear has already compounded into major mechanical strain, setting the stage for a breakdown when reliable heat is needed most.
Taking a proactive, systematic approach to winterizing your property is the best way to guarantee comfort and safety. Conducting a room-by-room and system-by-system audit before frost sets in uncovers hidden inefficiencies, resolves compounding mechanical faults, and seals invisible thermal leaks that silently drain your budget. A thorough maintenance strategy maximizes energy efficiency, lowers monthly utility bills, and keeps living spaces reliably warm regardless of harsh winter weather.
Inspect Heat Exchangers, Burners, and Blower Motors Before Peak Freeze
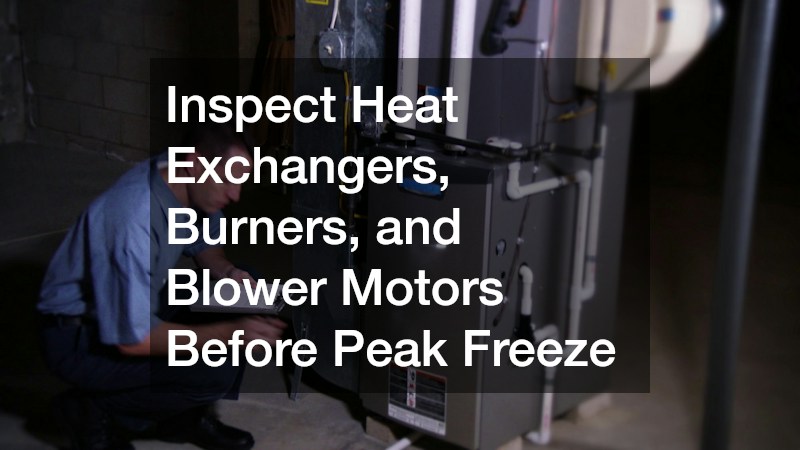
The internal components of a forced-air system endure intense thermal and mechanical stress throughout winter. Maintaining peak efficiency starts with unobstructed airflow. When filters clog with dust, pet dander, and household debris, the blower motor works harder to pull air through return ducts. This heightened static pressure causes internal temperatures to spike, triggering the high-limit switch and forcing the unit to short-cycle.
- Check the Minimum Efficiency Reporting Value (MERV) rating of your pleated air filters, aiming for a rating between 8 and 11 to balance allergen capture with healthy airflow.
- Replace filters every thirty to sixty days during peak heating months rather than waiting ninety days.
- Vacuum all return and supply grilles with a brush attachment to clear surface dust before it enters the return plenum.
Beyond basic airflow care, monitor visual and auditory warning signs during operation. Yellow or flickering burner flames instead of a crisp, steady blue cone indicate incomplete combustion, a serious hazard that generates carbon monoxide. Likewise, rattling, squealing, or grinding sounds from the blower housing point to worn motor bearings or a slipping fan belt. Resolving these faults requires professional furnace repair to recalibrate the gas-to-air mixture and replace damaged parts. During service visits, technicians also use inspection cameras to check the heat exchanger for hairline cracks that could leak combustion gases into living areas.
Audit Radiator Output and System Age to Prevent Mid-Winter Breakdowns
Homes heated with hydronic radiant systems follow different maintenance requirements. Because these systems circulate heated water or steam, efficiency depends on stable internal pressure and unobstructed flow through distribution loops. Over summer, dissolved oxygen separates from standing water and rises to high points, trapping air pockets inside radiators and baseboard convectors.
- Turn up the thermostat so the system cycles on and warms the distribution pipes.
- Start at the radiator furthest from the central unit, placing a thick rag beneath the bleeder valve.
- Turn the valve counterclockwise with a square radiator key until trapped air hisses out, closing it tightly once a steady stream of water appears.
- Check the expansion tank pressure gauge afterward, verifying it sits between 12 and 15 PSI when cold.
While routine bleeding restores output to healthy loops, recognizing when aging equipment has reached the end of its service life prevents mid-winter emergencies. If a hydronic unit is over twenty years old, loses pressure repeatedly, shows exterior tank corrosion, or operates below an eighty percent Annual Fuel Utilization Efficiency (AFUE) rating, scheduling a full boiler replacement before the shell fails is the safest choice. Modern condensing models reach up to ninety-six percent AFUE, capturing latent exhaust heat and substantially lowering seasonal fuel bills.
Monitor Fuel Gauges and Clear Snow Access Paths Around Exterior Storage
Properties operating off municipal utility lines depend on disciplined fuel inventory management and accessible exterior storage. Letting fuel reserves drop near empty ahead of a winter storm invites trouble, as severe weather slows delivery fleets and high seasonal demand triggers steep emergency fees.
- Maintain a strict winter fuel cushion by ordering refills whenever exterior tank levels reach thirty percent capacity.
- Keep a clear, ten-foot-wide path from the driveway to the fill connection so drivers can safely haul heavy delivery hoses across the yard.
- Brush snow and ice off regulator vents and protective dome covers on residential propane tanks using a soft-bristled broom rather than a metal shovel, which can damage brass valves or rupture supply piping.
Keeping exterior storage clear ensures regulators do not freeze open or closed. When ice blocks a regulator vent, the internal diaphragm cannot adjust to pressure changes, causing erratic fuel flow that forces indoor heating appliances into safety lockout.
Schedule Off-Peak Deliveries and Clean Sludge from Intake Filters
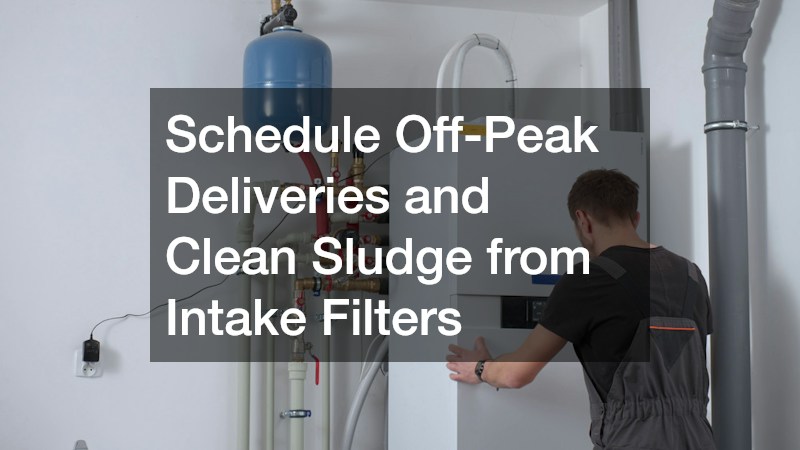
Liquid heating fuels are vulnerable to cold-weather degradation, particularly in above-ground exterior tanks exposed to sub-zero winds. When tanks sit partially empty during fluctuating autumn temperatures, condensation forms along interior steel walls. Water droplets sink to the bottom, creating an environment where microbes thrive. Over time, microbial growth breaks down fuel into thick sludge that enters the intake line, clogging filters and fouling burner nozzles.
- Keep tanks near full capacity during autumn temperature swings to minimize exposed interior wall surface area.
- Ask your supplier to blend a cold-flow anti-gelling additive into deliveries to lower the fuel’s pour point and prevent wax crystallization in exterior lines.
- Replace the primary fuel filter cartridge at the tank outlet annually to trap sediment before it reaches the burner.
Tracking fuel levels manually during busy winter months is easy to overlook, making automated scheduling a practical safeguard. Enrolling in an automatic delivery plan with a dependable heating oil service removes guesswork by using degree-day tracking software to calculate consumption from local weather data, dispatching refills before reserves dip below thirty percent.
Flush Tank Sediment and Evaluate Anode Rods Before Peak Demand
Domestic hot water accounts for a major share of household energy use, and winter conditions push water heaters significantly harder. As ground temperatures drop, incoming municipal water cools by fifteen to twenty degrees Fahrenheit, forcing equipment to burn extra energy to reach normal household temperatures.
- Attach a garden hose to the bottom drain valve and run the discharge end to a floor drain or exterior driveway.
- Shut off the electricity or gas supply, open the valve, and flush the cylinder until water runs completely clear, removing insulating mineral sediment from the tank bottom.
- Unscrew the hex head on top of the tank to inspect the sacrificial anode rod, replacing it if corrosion has eaten the magnesium or aluminum down to its steel core.
Annual flushing and anode checks prolong tank life, yet they cannot reverse advanced structural wear. When steel cylinders develop weeping leaks along bottom seams or heating elements fail repeatedly, investing in new water heater installations is far more cost-effective than ongoing patchwork. Upgrading to a heat pump unit or on-demand tankless model curtails standby heat loss while delivering reliable hot water throughout winter.
Insulate Exposed Pipes and Test Temperature-Pressure Relief Valves
Safeguarding household plumbing is just as essential as servicing heating equipment. Unheated crawlspaces, exterior garage walls, and drafty basements are prime locations for frozen pipes. When trapped water freezes inside copper or plastic lines, expansion splits the pipe wall, causing severe flooding once temperatures rise.
- Wrap exposed supply pipes in unconditioned areas with pre-slit, closed-cell foam insulation sleeves, sealing joints with acrylic tape.
- Disconnect garden hoses from exterior spigots before freezing weather arrives so frost-free sillcocks drain completely.
- Test the temperature and pressure relief valve on your water heater by lifting its lever briefly, confirming water discharges freely and stops cleanly when released.
If the relief valve continues dripping or vulnerable supply pipes run inside uninsulated exterior walls, professional help is warranted. Hiring a licensed plumber to reroute exposed piping into conditioned spaces or install an automatic whole-home leak shutoff valve protects your property against costly winter water damage.
Air-Seal Attic Bypasses and Upgrade R-Values in Unconditioned Spaces

Generating heat accomplishes little if warm air escapes immediately through gaps in the building envelope. Because warm air rises, it naturally pushes upward through tiny openings in ceilings and upper walls—a process known as the stack effect. As conditioned air leaks around recessed light fixtures, open plumbing chases, dropped soffits, and unsealed attic hatches, negative pressure pulls freezing outdoor air in through foundation cracks and basement rim joists.
- Install V-seal weatherstripping along double-hung window sashes and exterior door jambs to eliminate noticeable drafts.
- Seal annular gaps around plumbing stacks, wiring penetrations, and exhaust flues at the attic floor with expanding polyurethane foam.
- Cover pull-down attic stairs with a rigid foam insulation box to close off one of the largest thermal bypasses in the ceiling plane.
After sealing air leaks, evaluate your home’s thermal barrier. Many older residences lack sufficient attic insulation, letting heat radiate straight through ceiling drywall. Partnering with experienced insulation contractors to run a computerized blower-door test pinpoints hidden air leaks, allowing crews to blow dense-pack cellulose or fiberglass across the attic floor to meet modern R-value standards and reduce heat loss by up to twenty percent.
Seal Leaky Ductwork and Rebalance Airflow Across Living Zones
In homes with forced-air heating, ductwork condition directly governs comfort and operating costs. Between twenty and thirty percent of heated air commonly escapes through disconnected joints, holes, and loose seams before reaching living spaces. When ducts pass through unheated basements, crawlspaces, or attics, leaky runs waste energy warming unoccupied zones while bedrooms stay chilly.
- Inspect accessible basement and attic duct runs for separated joints, crushed flex duct, or peeling tape.
- Coat visible seams, elbows, and plenum connections with mastic sealant or UL-181 foil tape, avoiding standard cloth duct tape that dries out and fails under heat cycling.
- Wrap supply and return trunks in unconditioned spaces with heavy fiberglass duct insulation to prevent conductive heat loss.
While sealing accessible joints curbs major leakage, fine-tuning system airflow requires specialized instruments. Scheduling reputable HVAC companies to perform static pressure testing uncovers hidden restrictions inside walls, enabling technicians to clean evaporator coils, adjust blower speeds, calibrate smart thermostats, and balance dampers for even warmth across every room.
Inspect Supply Piping for Corrosion and Test Carbon Monoxide Detectors
Piping that delivers combustible fuel to heating appliances demands strict, routine safety checks. Black iron pipes and brass fittings can corrode over time, particularly in damp basements where moisture accelerates rust along threaded connections.
- Examine exposed interior fuel piping for surface rust, flaking metal, or moisture around valves and unions.
- Spray suspect joints with a solution of dish soap and water; active bubbling reveals a slow leak requiring immediate service.
- Test every smoke and carbon monoxide alarm on each floor, install fresh backup batteries, and replace detectors older than five to seven years.
If you ever notice the rotten-egg smell of mercaptan—the safety odorant blended into natural gas and propane—do not search for the leak yourself. Evacuate everyone immediately, leave exterior doors open, and contact your utility provider from a safe location before arranging professional gas line repair to replace damaged piping.
Vet Licensed Technicians and Lock In Priority Seasonal Tune-Ups
A sub-zero weekend night is the worst possible moment to search for emergency service. During regional cold snaps, repair backlogs grow rapidly, leaving homeowners without established service accounts waiting days for heat restoration.
- Screen local providers during mild autumn weather, verifying active state mechanical licenses and full liability insurance.
- Choose technicians holding North American Technician Excellence (NATE) credentials, which confirm verified diagnostic expertise.
- Favor companies offering clear, itemized upfront pricing and guaranteed 24/7 emergency dispatch coverage.
Establishing an ongoing relationship with trusted heating contractors frequently starts with an annual preventative maintenance agreement. These plans bundle comprehensive fall tune-ups with priority emergency scheduling and repair discounts, ensuring skilled help arrives promptly whenever severe winter weather tests your home.
Securing a warm, resilient home relies on consistent observation, routine preventative care, and timely professional support. By swapping clogged air filters, bleeding air from hydronic loops, protecting off-grid fuel reserves, and sealing thermal leaks in attics and ductwork, you eliminate the hidden stresses that trigger mid-winter equipment failures.
To keep this checklist manageable, tackle the work in three practical stages. This weekend, complete quick do-it-yourself tasks: replace air filters, test safety detectors, and clear debris around exterior fuel storage. Within the next month, install door weatherstripping, insulate exposed plumbing, and arrange automated fuel deliveries. Before deep winter cold arrives, complete all professional inspections, combustion checks, and air-sealing upgrades. Spending a few focused afternoons on preparation pays off with uninterrupted indoor comfort, lower utility bills, and dependable protection all winter long.